Product Configurator
Product configurators are used by Zoe from marketing and Greg from sales to help customers making informed buying decisions by visualizing the exact product configuration by selecting from different available options.
See how Alex uses the Product Configurator extensions to help Zoe from Sales.
Products
To illustrate the use case we have prepared two products for you:
- /src/cycle_demo/assets/products/product_P3_basicbike/product_P3_basicbike.usd
- /src/cycle_demo/assets/products/product_P2_unicycle/product_P2_unicycle.usd
Use one or both. Lets assume you want to use product_P3_basicbike.
If you open the product_P3_basicbike.usd in your Omniverse Usd Composer you are going to see a bike which is your product you would like to show to your customers. There are different variations implemented by using Variant Sets and Variants. If you want to know more about Variant Sets and Variants visit: Variant Sets and Variants.
The bicycle should look something like this:

In the following chapter we are going to have a closer look at the product configurator itself.
Product Configurator
We are going to create a product configurator for the cycle product.
- /src/cycle_demo/assets/products/product_P3_basicbike/product_P3_basicbike.usd
First a step by step guide on how to set up the product configurator:
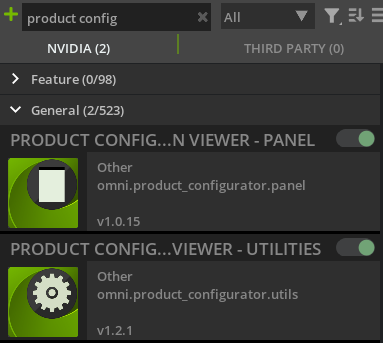
- Enable the product configurator extension in Nvidia Omniverse
-
Inside the repository are the following requirements so that the extension works:
- /src/cycle_demo/assets/configurators/Assets: In this folder is a camera and the background asset stored for the scene.
- /src/cycle_demo/assets/configurators/DataStructure: There are the prims for the data structure and the ActionGraph usd-files stored to make the product configurator work
-
Open the empty_configurator.usd you can find in your Data Structure Folder in Omniverse Usd-Composer. As you can see there is already a stage with the referenced Assets and placeholders where additional data will be stored. For example the Configurable_Assets Scope which we are going to fill in the next step. Save it inside the /src/cycle_demo/assets/configurators folder and name it my_first_configurator.usd
-
Add a reference of your product you would like to configure under the Configurable_Assets Scope Folder
- Navigate to products/product_P3_basicbike and drag the product_P3_basicbike.usd on the Configurable_Assets Scope. (Configuarble_Assets is parent of product_P3_basicbike)
- You should see the bike in your Scene
-
In Tools/Product Configurator/Utilities select "Create DataStructure"
- The first input field needs the path to the DataStructure/Prims folder.
- The second input field needs the path to the DataStructure/Graphs folder.
- Click on "Create Data Structure" and the necessary files and action graphs for the extension to work will be generated
-
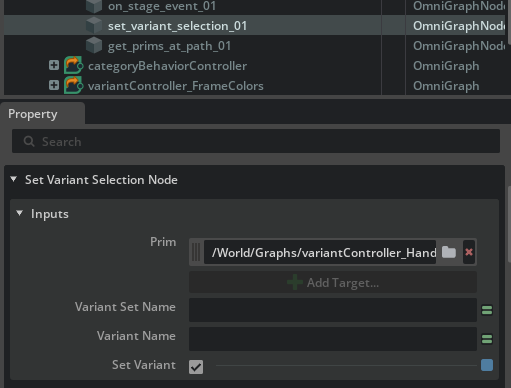
Now we need to enable the actual change between different variations in our product:
- In the Stage window find the Graphs Scope Folder
- Search for every Graph which starts with "variantController"
- Unfold it and search for the set_variant_selection_01 prim
- In the property window --> mark "Set Variant" as true
-
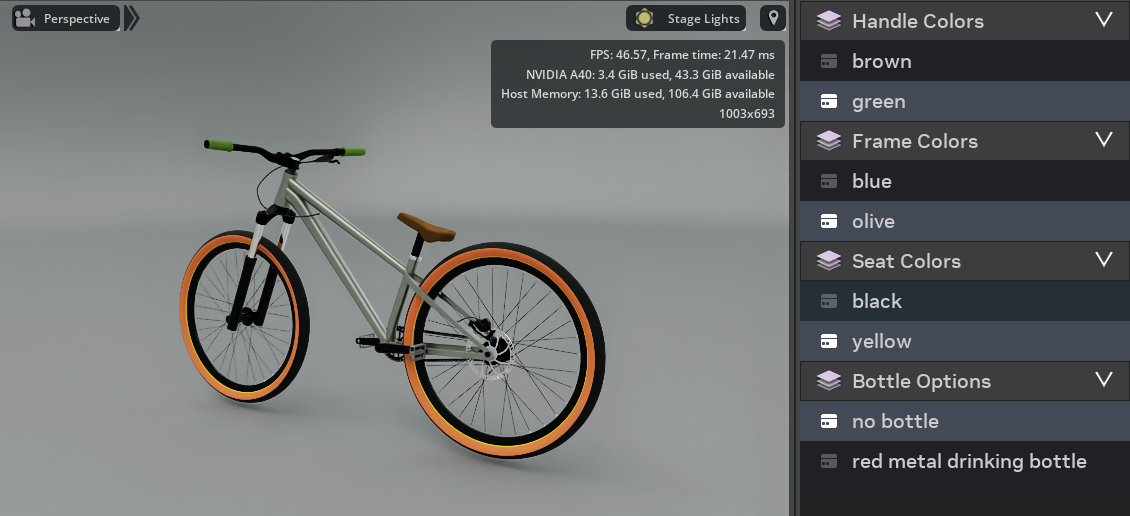
Open the Configurator Panel with Tools/Product Configurator/Panel
- Now you can switch between the different variants of your bicycle
-
If you wish you can have a look at our prepared configurators: configurator_P3_basicbike or configurator_P2_unicycle
- /src/cycle_demo/assets/configurators/configurator_P3_basicbike.usd
That is all it takes to make the configurator work.